A Brand New Malware Environment
Man, what a week.
In order to more safely analyze malware, I needed an entirely separate environment to run harmful programs. Previously, I would run them in a VM hosted on my personal computer through VMWare. This is how the VBScript was de-obfuscated.
“But Brandon, isn’t running harmful code dangerous?”
That’s why it’s in its own VM. To ensure that should it break, it won’t destroy the rest of the computer. Unless it escapes of course.
“Escape? Escape from what?”
There are certain exploits that malware can use to “break” out of its sandbox, and thus run whatever hack code they want on your own computer.
“Perhaps it is not the best idea to run malware on your own computer.”
And that is why I have revamped my malware analysis lab! I will be running malware on a VM hosted on a Dell PowerEdge R310 with Citrix XenServer. I will have a firewall rule in place to only allow the XenServer to communicate with the outside world and a FreeBSD VM running on my computer. With XenServer, I can run a program called Xen Orchestra in order to manage my XenServer. That way, my personal computer should be much more protected in case of malware attempting to break out. The workflow would be as follows:
Personal Computer -> FreeBSD VM -> HTTPS -> XenServer -> Malware VM
I have 90% of this setup up and running right now. Here is what I did:
Part I: Deploy New Webserver
The first thing I needed to tackle was to set up a new server for my website and this blog. I chose AWS because a simple Windows Server would cost me about <$20/month whereas GCP and Azure would have costed a bit more. Simple enough. AWS EC2 makes it simple and quick to launch new instances for whichever need you have. I chose Windows because I wanted to have the experience of being my own Windows Server Administrator.
This would prove a disaster later on.
I get my Windows Server set up, install IIS and the required plugins, set up my server, and figure out how to install WordPress. Web Platform Installer has an automatic WordPress install. Woo!
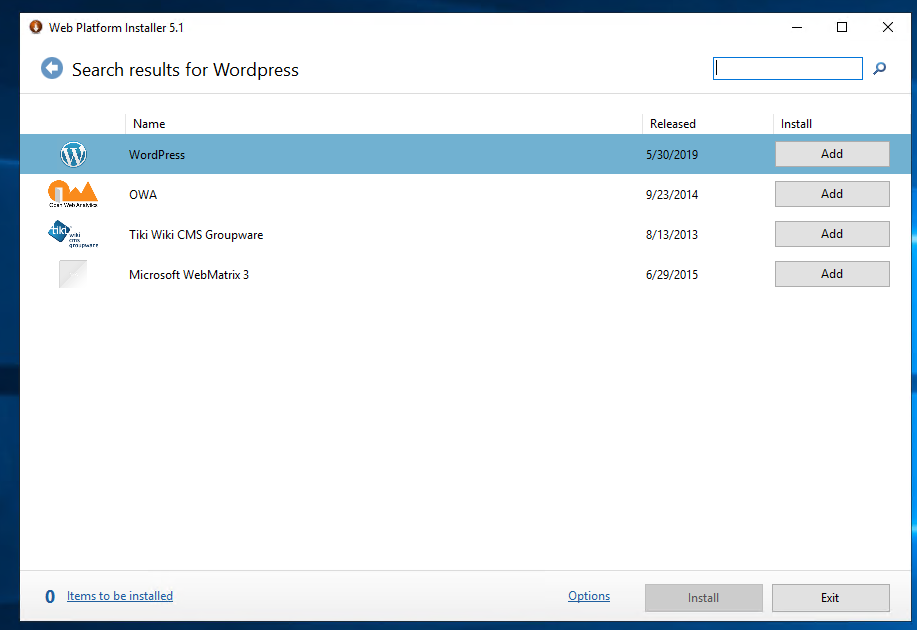
Installed it, got it configured, and…. there’s a security warning. Apparently this version of WordPress installs PHP 5.1 !!!, MySql 5.1!, and an outdated WordPress version. These are horribly out of date. Need to update.
First on the list is WordPress itself. It has a button. You click the button and boom. Updated 🙂 Easy enough.
Second is PHP. Got PHP 7.4 installed, and now WordPress has an error. I ran PHP manually from the command line, and I get an error popup:
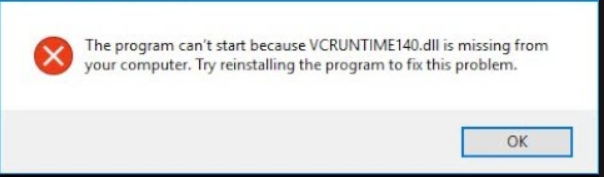
A quick Google search states this is due to PHP requiring the Microsoft Visual C++ Redistributable for Visual Studio 2019. I installed it, WordPress no longer has an error AND reports that PHP is up to date.
Next was MySql. That was rough. It took me 4 days, and I ended up deleting everything, including the Windows Server itself, and started over from scratch. This time, I installed everything manually, using the official installation walkthrough. After that, worked like a charm.
Part II: Securing the WebServer
This is the next thing that took forever at two days. I originally went with OpenVAS. However, I quickly found out that OpenVAS is now Greenbone Vulnerability Manager. It is the absolute worst thing I have ever had the misfortune of attempting to install. Since it is a Linux application, I had to fire up a Linux VM. My first try was in Ubuntu, however, the apt-get didn’t work. It just simply didn’t start at all. My second through sixth attempt was in Kali Linux. All attempts failed. I used apt-get, an automated script I found on GitHub, the manual build process, and a mix of both. It just simply didn’t work. Fine. I then tried to use their pre-packaged VM. But that too failed. I gave up on GVM.
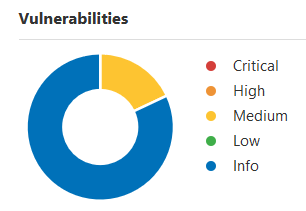
So I then went to my good friend Nessus. I installed it in my Kali VM, and it worked the first try. As of this writing, I have 9 medium vulnerabilities to fix:
The last thing I needed to do was run the Microsoft Baseline Security Analyzer. However, that is no longer supported 🙁
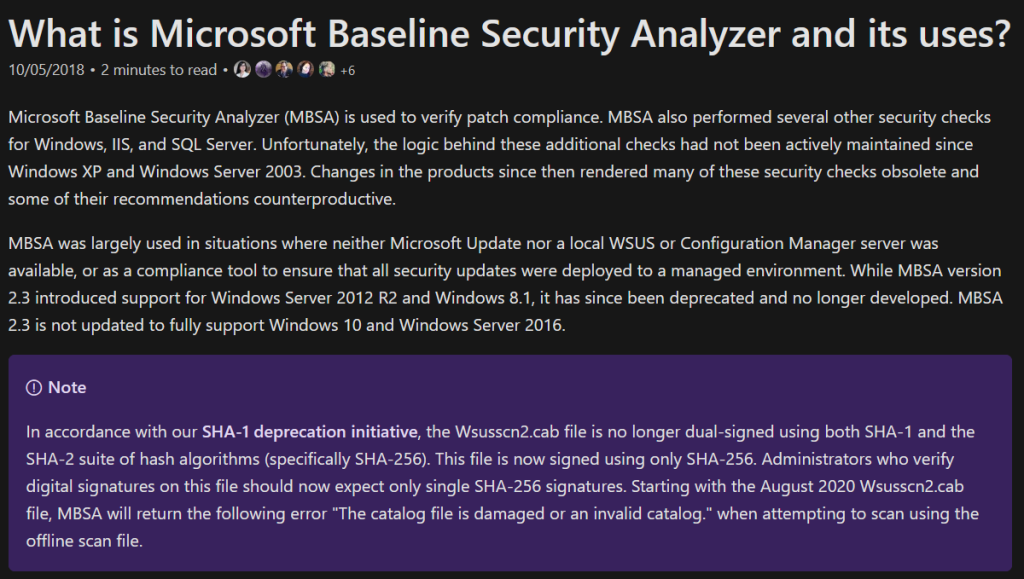
I did find out that its successor is the Microsoft Security Compliance Toolkit. So, I have something else to get running.
Part III: Building the Malware Analysis Environment
Out of everything, this was the easiest. I was originally going to go with VMware’s ESXi, but my PowerEdge is too out of date. However, Citrix’s XenServer happily runs on the old hardware. Tough decision that was 🙂
Since I do not have a DVD drive, I have to boot my new OSs through PXE Boot. I use (and highly recommend) Serva for all my PXE Boot needs. Simple to install and works without a hitch. I got XenServer installed, and then XenOrchestra installed on my Ubuntu VM for testing. It works! However, it appears I couldn’t start VMs through XenOrchestra, so I installed XenCenter. Worked perfectly. Well… almost.
I configured my Windows 7 VM on XenServer, got Serva running, tested Serva on my PXEBoot VM, and went to install Win7. Nope. Connection timed out. No matter which settings I tried, the guest VM refused to boot. I even tried another PXE Boot server. Didn’t work. Was my project dead in the water? It almost was until…
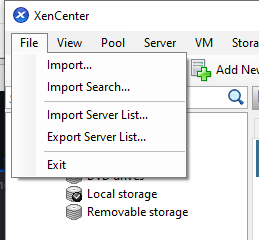
I realized I can IMPORT VMS through XenCenter!
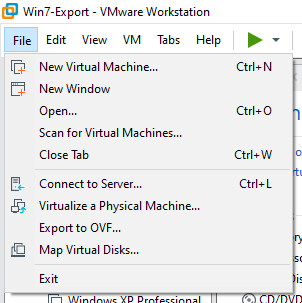
And VMware Workstation can export! I can load VMs this way!
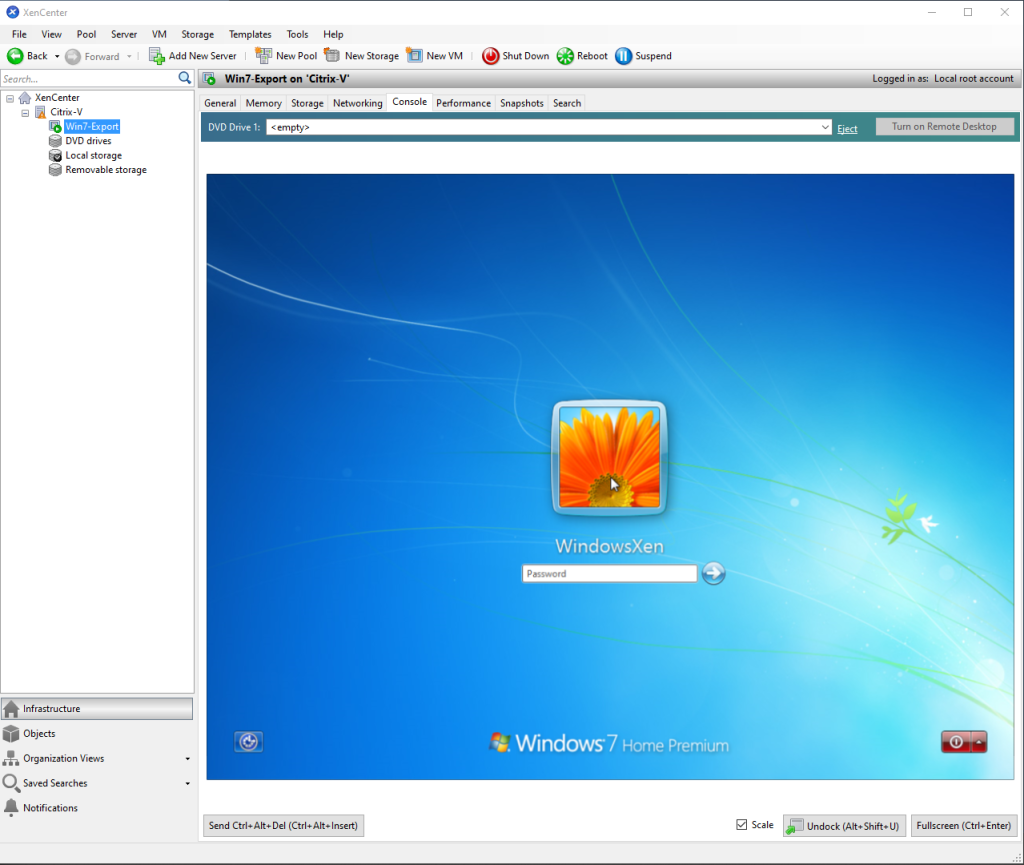
So, Windows 7 was installed in VMware, exported, imported into XenServer, and now it runs!
Part IV: Installing FreeBSD
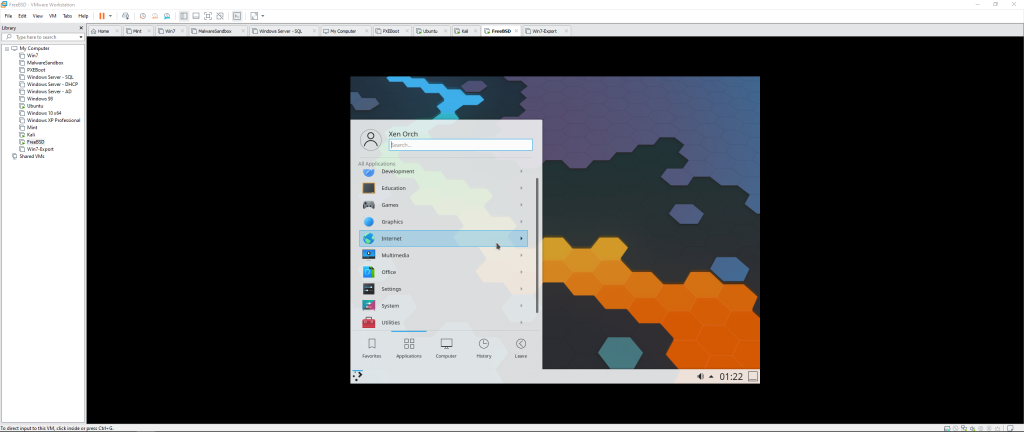
This was the most difficult part of this project. I have never used FreeBSD in my lifetime. Never even seen it. FreeBSD installed fine, but it doesn’t come with a GUI. So I installed the GUI, set the resolution, and it appears to be working. Sweet. I just have to finish configuring it for VMWare, and then I can install Xen Orchestra.
Part V: Finding Malware
I have decided my first analysis will be on the Clop Ransomware. This is a really nasty piece of malware family that encrypts your files until you pay. I wrote a paper on the Clop ransomware, so naturally, this would be the first analysis done. My first step is to actually find it in the first place. The McAfee blog gave me an MD5 hash of:
ed7db8c2256b2d5f36b3d9c349a6ed0b
So we have our starting point. The first place I searched from this list is app.any.run. So I put the MD5 has into the search and…. could it be?

On the first try, no less! There it is! In all its glory! Or is it? There’s only one way to find out.
The McAfee blog post shows a snippet of the disassembled code with the memory address included. If we go to that specific memory address, we find….
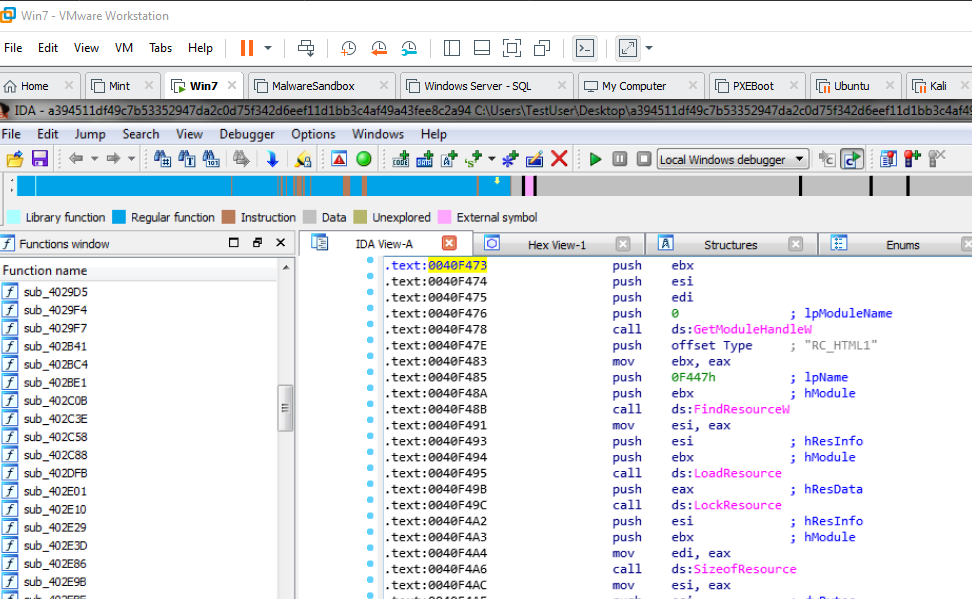
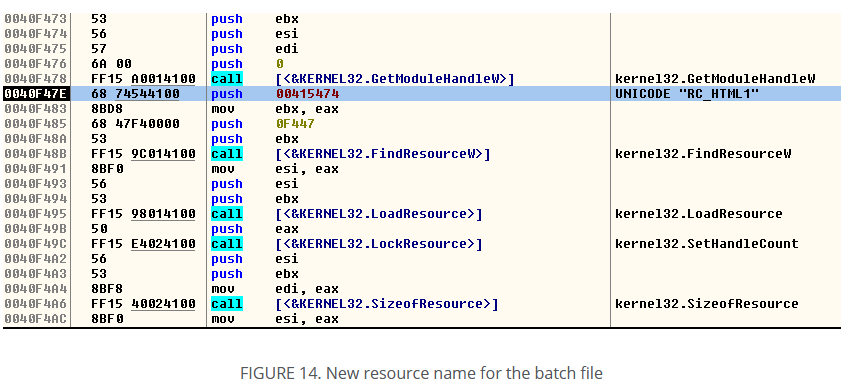
The same. exact. assembly code in McAfee blog post. I can conclude with reasonable accuracy that I have acquired the Clop ransomware file. Next week, I will dive into this sample!


